|
Amps (Ampere): The available electricty in a system to be used. Volts (Voltage): The pressure pushing electricity to each circuit. Watts (Wattage): The amount of electricity an ojbect needs to work (or how much energy it emits when running).
Lucky for filmmakers, we don't have to master the science behind electrons, protons, and neutrons in order to use lights. We can simply do a simple equation to figure out how many lights we can plug in to each circuit! What's a Circuit? Notice in this image above that wires run to every room in the house. Some rooms are grouped together on the same (colored) circuit and share the same power supply. This means that if someone trips the circuit (drawing too much power) in one room then all the rooms will lose power. A circuit is where electricity enters and loops through an electrical system.
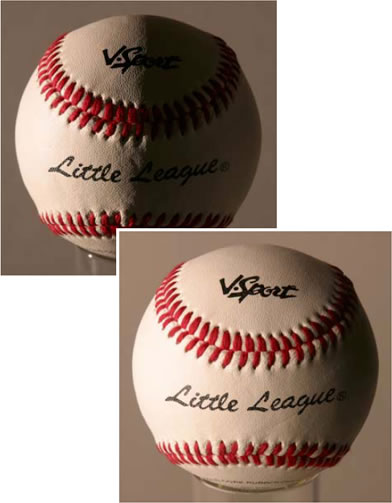
In a circuit, electricity enters and loops through an electrical system. In the image on the left, electricity is entering and existing the light bulb. The image on the right explains that the electricity exiting out of the light bulb is equal to the amount of electricity going in.
For example:
These images above show the same setup for a breaker box; a main line entering at the top, 120v and 240v breakers for a variety of circuits, a ground line, and a neutral line. IMPORTANT NOTE: The circuit breaker box is important to filmmakers because it tells us which rooms are grouped together and which rooms share the same 20 amps of power. So...where do we plug in our lights?
Here's where the math comes in... Watts = Volts x AmpsMock Scenario
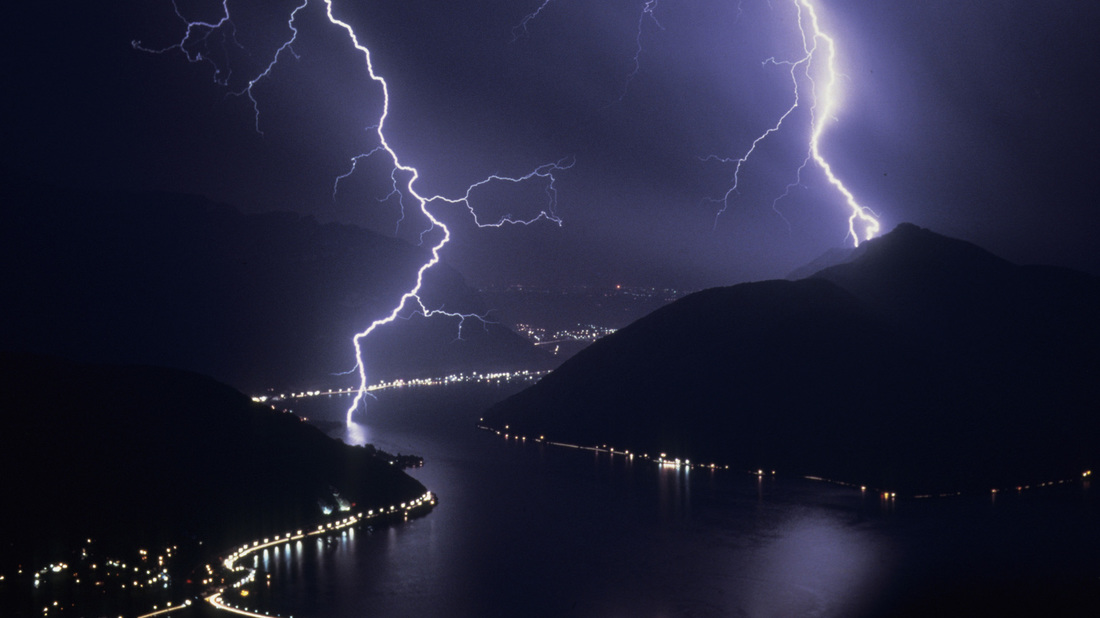
The word photography means drawing with light. Photography comes from two Greek words; 'photos' which means light and 'graphe' which means drawing.
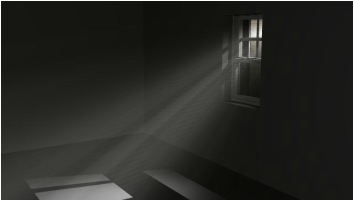
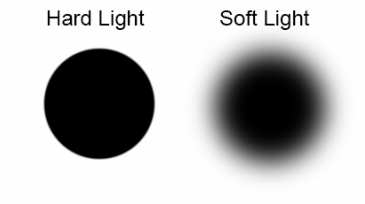
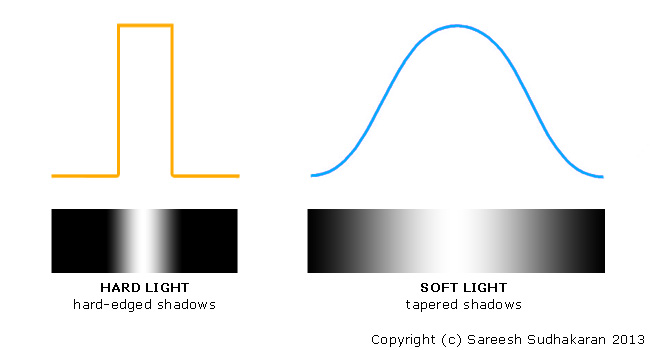
These two images above (lighting and window) represent how important light is in capturing an image. Without light the camera would only capture pitch black frames. Quality of Light Hard Light is light that comes direct and harsh from a light source. The transition between light and dark is clear and noticeable (meaning you can see the line). Soft Light is light that comes diffused and scattered from a light source. The transition between light and dark is gradual (meaning you cannot see a hard line). When we talk about light, we talk about it in terms of quality. The quality of light can be described as hard light or soft light. And, it is clear which is which when you look at the transition between where a light falls from brightly lit into shadow (see examples below).
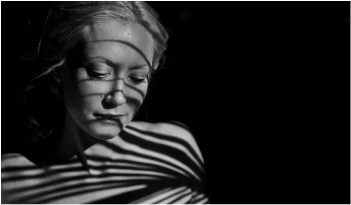
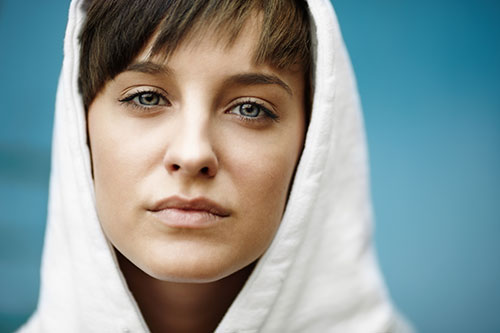
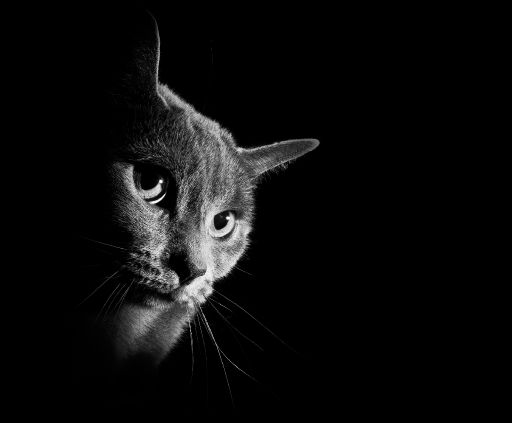
The images above show how hard light has a sharp and definable edge. The images also show that soft light has a gradual and subtle edge. Examples of Hard Light Meaning, these have clearly defined lines between light and shadow.
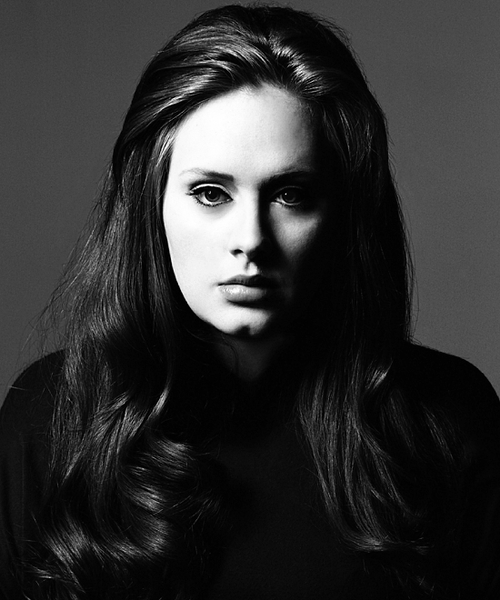
Examples of Soft Light These images have a gentle gradation between light and shadow so that the line is almost impossible to identify.
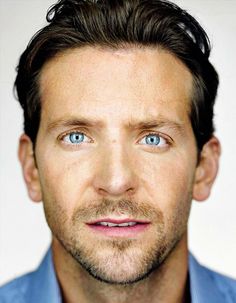
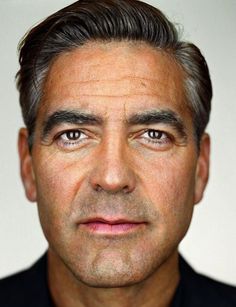
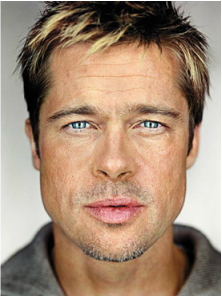
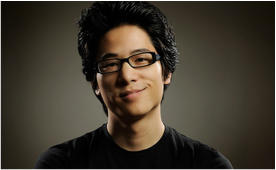
This is a very important differentiation (between hard and soft light) that you need to make as portrait photographers, because soft light is often the most flattering light for faces.
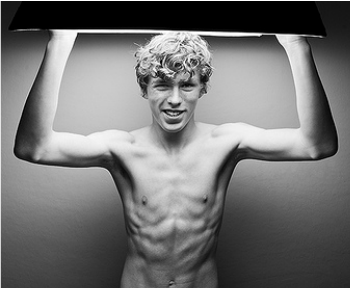
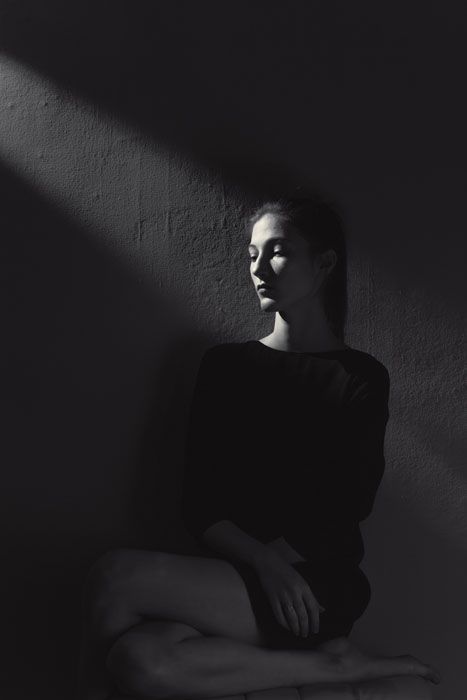
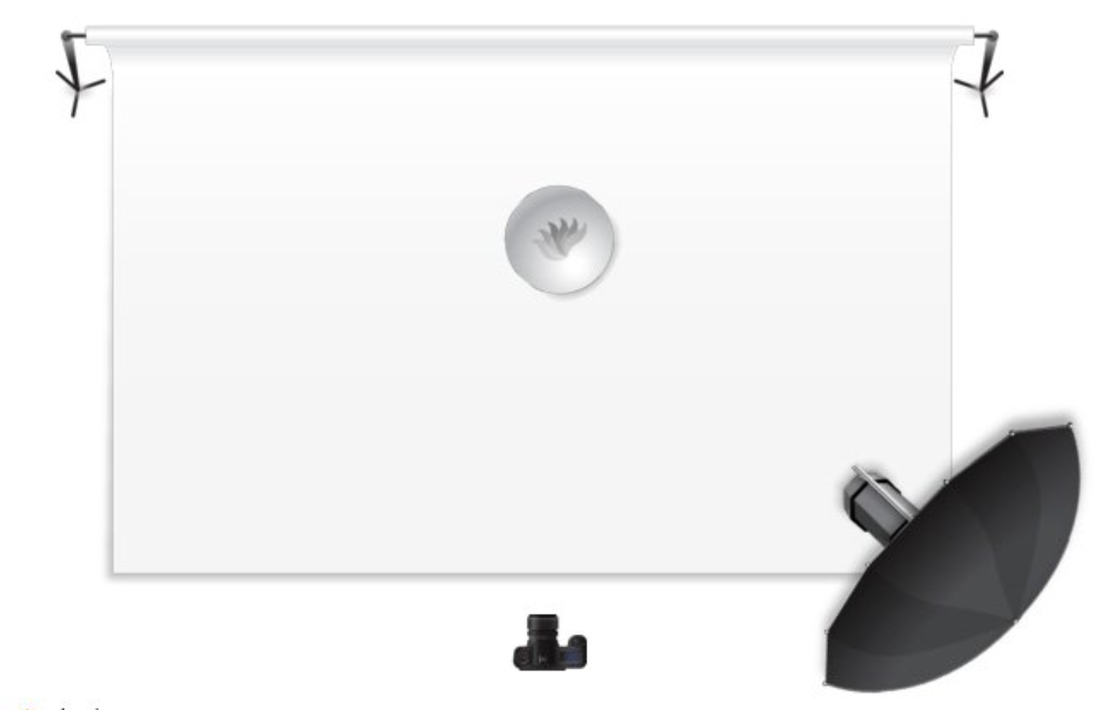
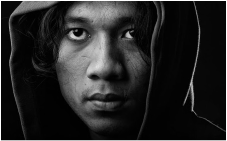
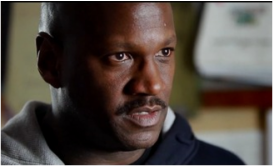
Modifying Light What does the word diffuse mean? This is likely the single most important word you may use when talking about photography and lighting. Diffusing a light is the process of taking the hard parallel light rays and scattering them in different directions to make them soft. 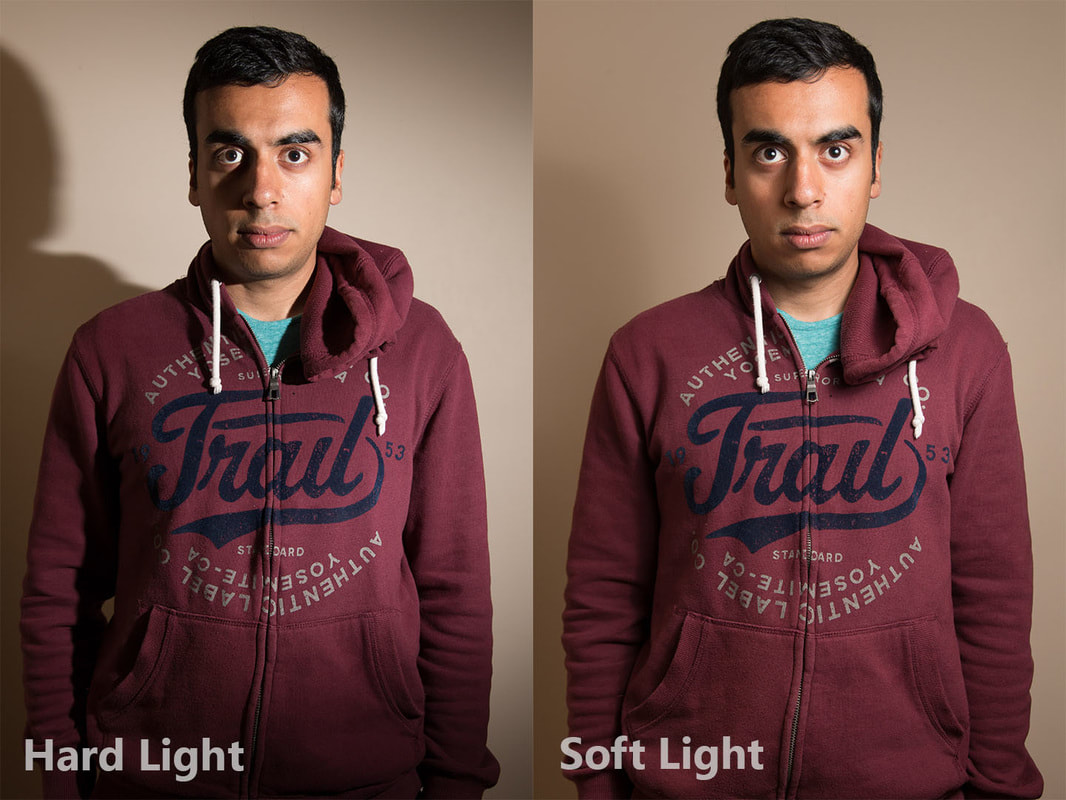 Look at this guy for a second... The light on his face is pretty similar. You can really tell the difference between the types of light (side-by-side comparison) when you look at the shadows cast on the wall behind him. These shadows tell you whether the light is hard or soft. Learn to look at shadows! Example Scene: Studying Styles of Lighting 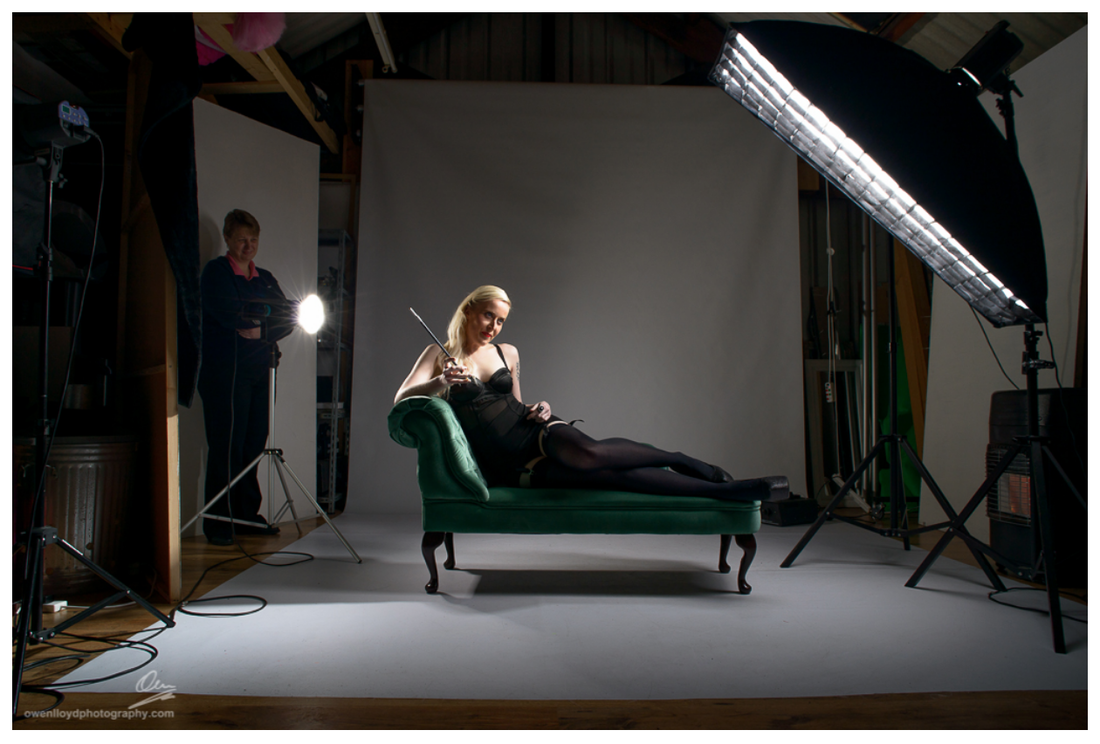 "The first set was inspired by the sort of 1950’s Hollywood, film-noir style light with the subject the classic 'femme-fatale' that often featured in these movies. As [the woman's] outfit was all black, we needed some 1) fill which is provided by the gridded strip-box on the right. This is feathered off towards camera. The 2) main light, a gridded beauty dish, is actually hidden behind that strip-box and is aimed at her head and shoulders. The last light, the 3) edge light is off to camera left lighting the hair and providing edge light down her right arm." -- Owen Lloyd Photography Summary: This setup combines hard and soft light. The soft light provides a nice broad light from above while the backlight creates some nice crisp small shadows to help give definition and shape. Direction of Light Everything you do must be motivated because it builds meaning. If the light is coming from above the viewer will associate and assume the light source is either a street lamp, the sun, the moon, etc. Everything you do builds meaning and depth to your images. It is your job as a photographer to figure out the look you're doing for and what you ultimately want viewers of the image to feel. Then you need to work backwards to build that feeling.
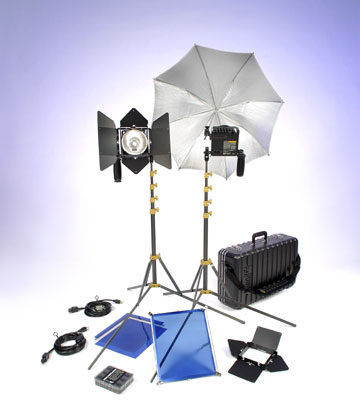
Types of Lights
Choosing the Right Light for your Project...
The size of your light source matters, mega-time. If you have a small light source in relation to your subject then your light will appear more hard. If you have a large light source in relation to your subject it will appear more soft by nature. This is important to keep in mind when you're choosing the light you want to use with your subject. Small Light Sources = Hard Light
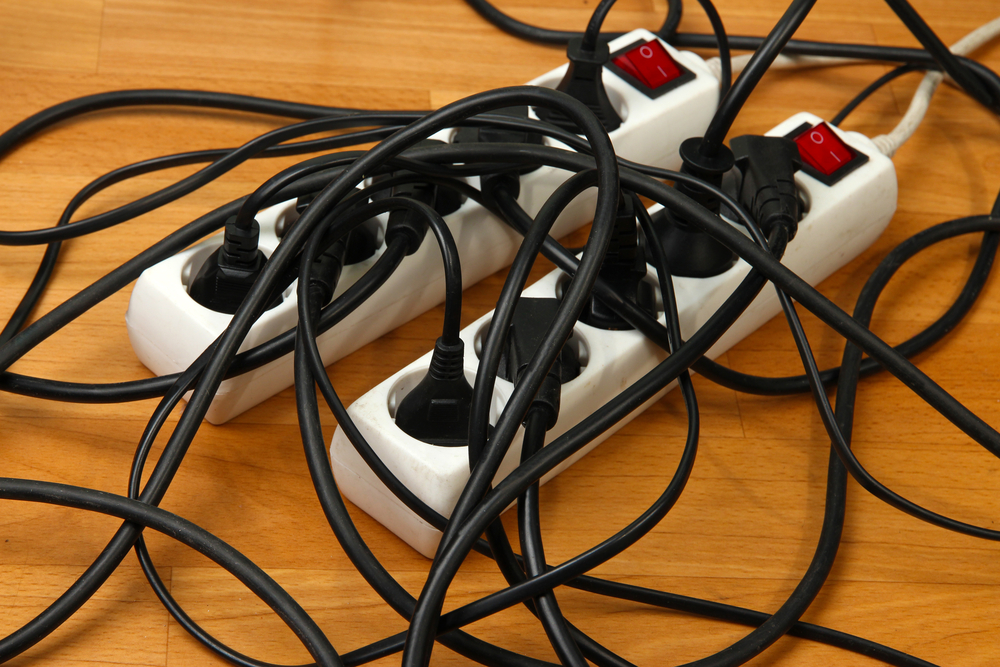
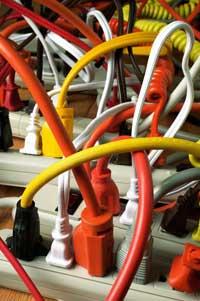
Wrapping cables matters. Not only does it make it easier for everyone using the cables to know what they're picking up, but it also extends the light of the cable. Watch one of these two videos to learn two different approaches to doing the same task. Big Light Sources = Soft Light
Designing Your Lighting Setup
Lighting can be hard on location when you have limited time, resources, and power. You can do a lot with a little, and many photographers get more skilled at this over the years. Simple One-Light Setup Good lighting doesn't have to be complicated. If you are...
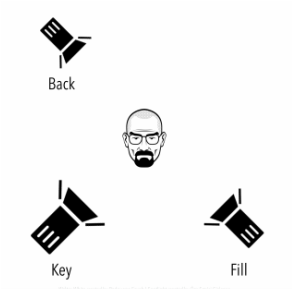
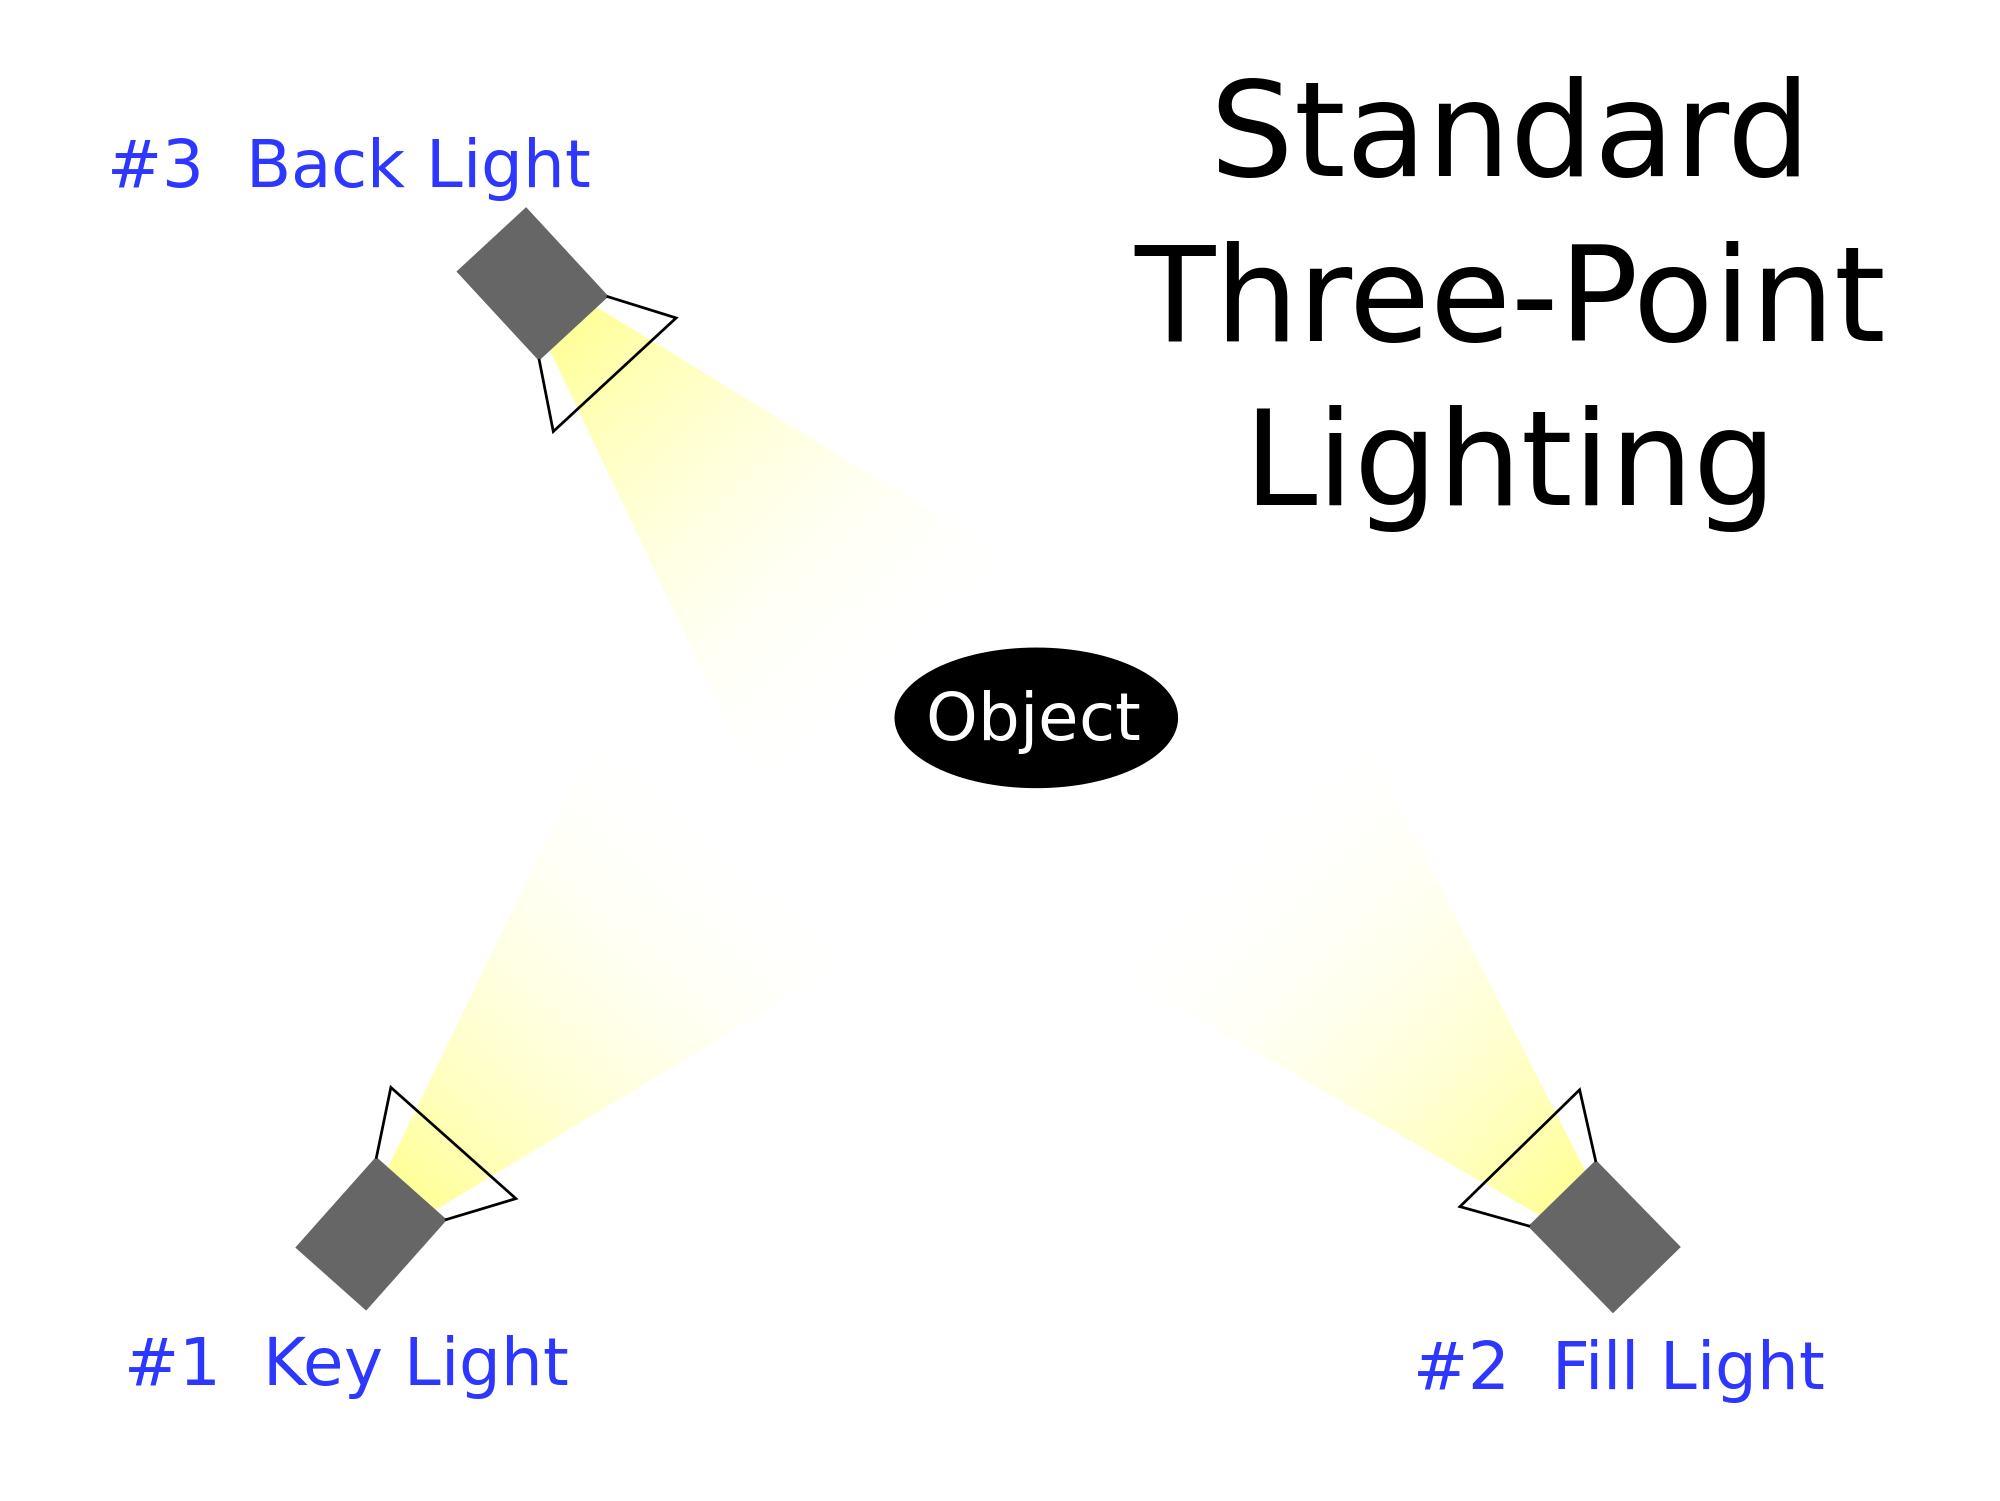
Three Point Lighting Setup This lighting setup is often used for formal interviews or high-end work. It gives a 3-dimensional shape to your subject and helps them stand out from the background. 
Example images of three point lighting:
Split Lighting Setup A lighting style where one light (the key light) is on one side of the subject while there are no lights on the opposite side of the subject--creating a strong shadow on the other side of the subject. 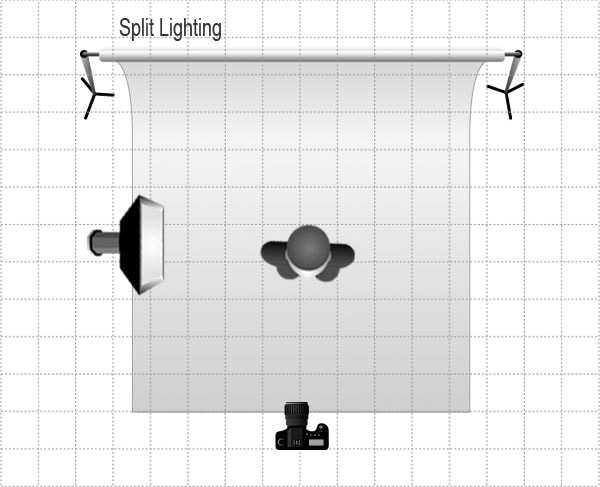
 Butterfly Lighting Setup A lighting style named as such because the light casts a shadow along the mouth that shaped like a butterfly. To achieve this, place a light directly above your subject at a 45-degree angle. Then hold a reflector underneath his/her chin to fill in the harsh shadow.
Keys to a Successful Shoot
Image of Lighting, http://depot.betteroffted.com/high-quality-at-low-price-lighting-universe/modern-lighting-universe/
Lowell Lighting Reference, http://lowel.tiffen.com/edu/components_interview.html Easy Light Setup Improves Your Films, https://www.youtube.com/watch?v=NVIbirzZn0M Three point lighting graphic overhead, https://upload.wikimedia.org/wikipedia/commons/thumb/d/d8/3_point_lighting.svg/2000px-3_point_lighting.svg.png Three Point Lighting is the standard form of lighting in journalism, film, and photography. This type of setup can be modified for any content or tone. To take professional quality studio portraits students must learn about the basics of lighting and apply their new skills during live photoshoots. A lot of factors come into play including: types of lighting instruments, placement of lights, placement of a subject in relation to the lights, expression and emotion for the subject.
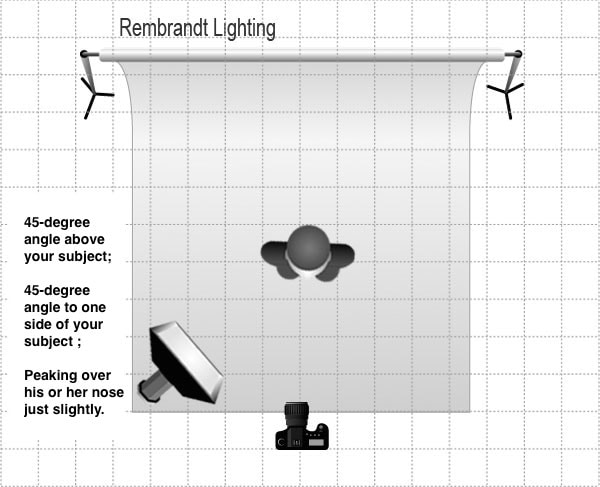
KEY TERMS KEY LIGHT - This is the strongest and most prominent light source in your photoshoot. FILL LIGHT - This the light that balances out the key light, filling in shadows on the subject's face. BACK LIGHT - This is the light that shines behind the subject to one side, lighting their shoulder to help them standout from the background. THREE POINT LIGHTING - A style of lighting that utilizes three lights (key, fill, back) to give shape and definition during a studio photoshoot. SPLIT LIGHTING - A lighting style where one light (the key light) is on one side of the subject while there are no lights on the opposite side of the subject--creating a strong shadow on the other side of the subject. REMBRANDT LIGHTING - A lighting style named after the famous painter Rembrandt as he mastered lighting a small inverted triangle of light on the subject's cheek opposite from the light source. This can be achieved by placing the light above the subject and to one side. BUTTERFLY LIGHTING - A lighting style named as such because the light casts a shadow along the mouth that shaped like a butterfly. To achieve this, place a light directly above your subject at a 45-degree angle. Then hold a reflector underneath his/her chin to fill in the harsh shadow. Exercise:
|


